Table of Contents
Introduction
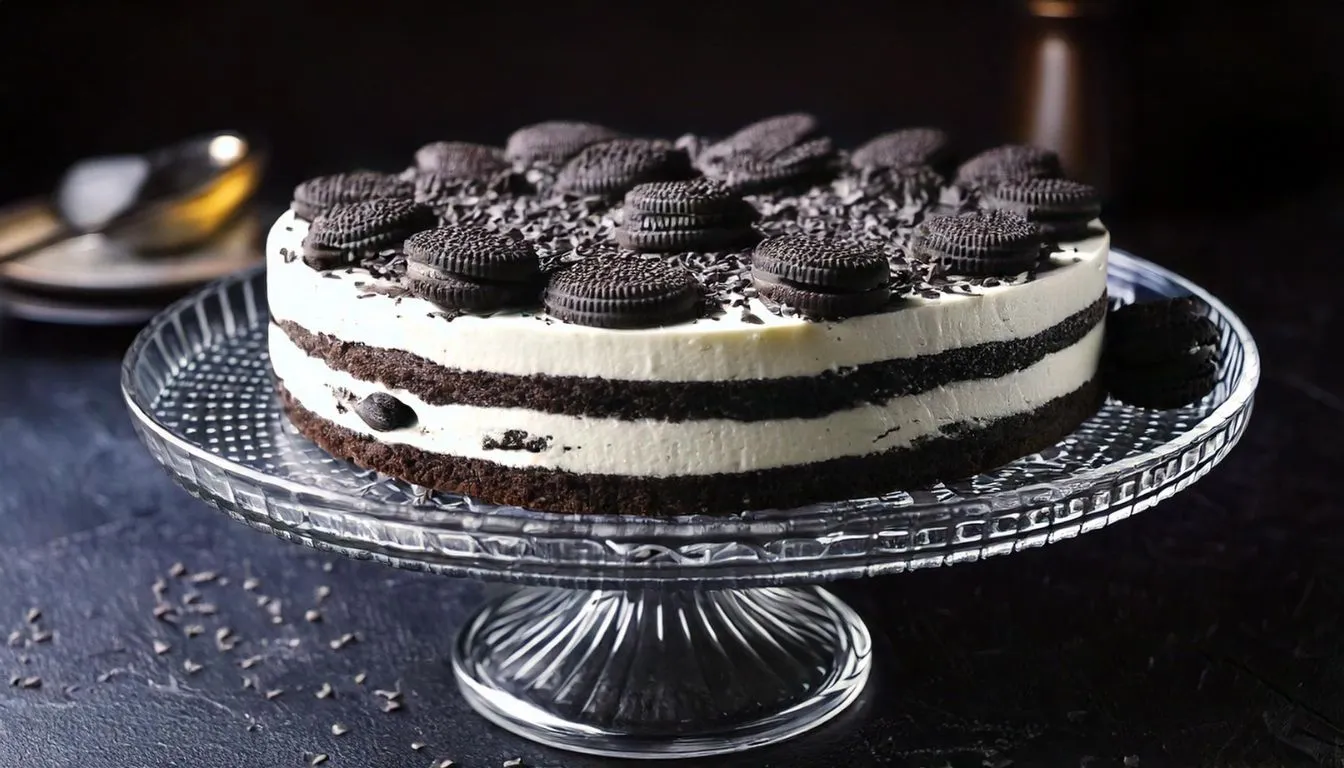
Imagine coming home after a long day and treating yourself to a dessert so delicious it feels like a reward. Now, imagine creating that dessert effortlessly in your own kitchen, without even turning on the oven. That’s the magic of a no-bake Oreo dessert. This decadent treat is a game-changer for anyone who loves desserts but doesn’t have the time—or patience—for complicated recipes. Whether you’re hosting friends or simply craving something sweet, this recipe is bound to impress. Let’s dive in!
Ingredients Table
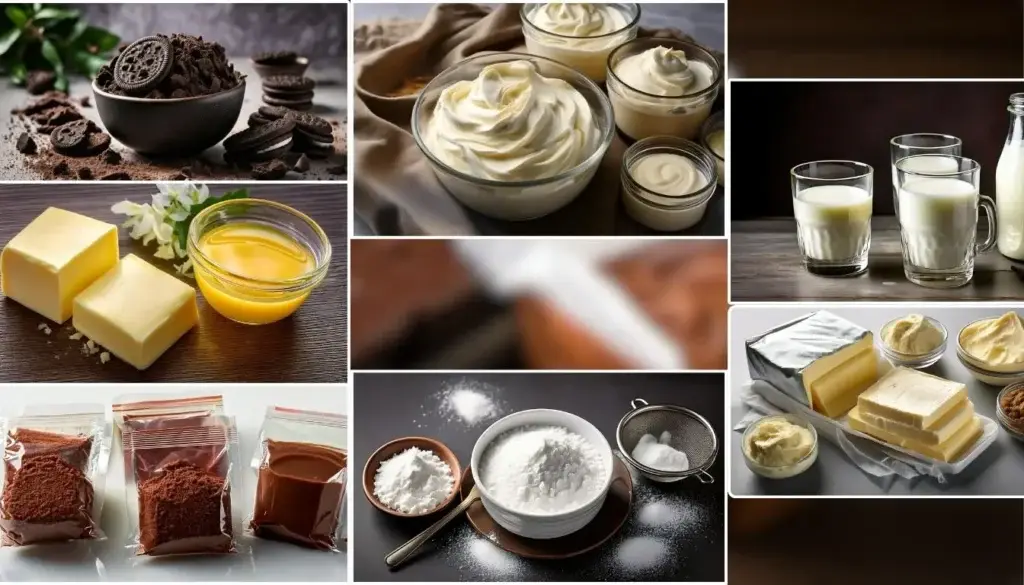
| Ingredient | Quantity |
| Oreo cookies | 30 (crushed) |
| Unsalted butter | 1/2 cup (melted) |
| Cream cheese | 1 package (8 oz) |
| Powdered sugar | 1 cup |
| Whipped topping | 2 cups |
| Chocolate pudding mix | 2 packs (3.9 oz) |
| Milk | 3 cups |
Why This No-Bake Oreo Dessert is Perfect for Any Occasion
This no-bake Oreo dessert isn’t just a treat—it’s a solution for when you want something impressive without a lot of effort. Here’s why it works so well:
- Effortless Elegance: Skip the oven and focus on assembling layers of deliciousness.
- Versatile Appeal: Perfect for birthdays, potlucks, or casual weeknight dinners.
- Crowd-Pleasing Flavors: The rich Oreo crust, creamy filling, and luscious chocolate pudding layers make it irresistible.
Whether you’re an experienced cook or a beginner, this dessert offers a foolproof way to create something spectacular.
Step-by-Step Guide to Making a No-Bake Oreo Dessert
Step 1: Prepare the Oreo Crust
Start with the foundation of your dessert—a perfectly crunchy Oreo crust. Here’s how:
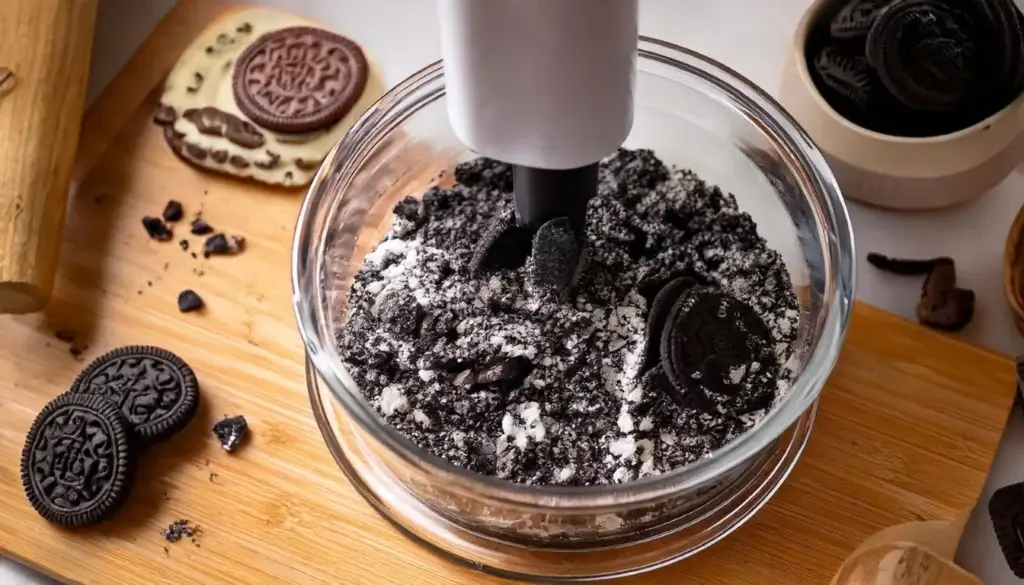
- Use a food processor to grind 30 Oreo cookies into fine crumbs. If a food processor isn’t an option, seal the cookies in a resealable bag and crush them into fine crumbs with a rolling pin
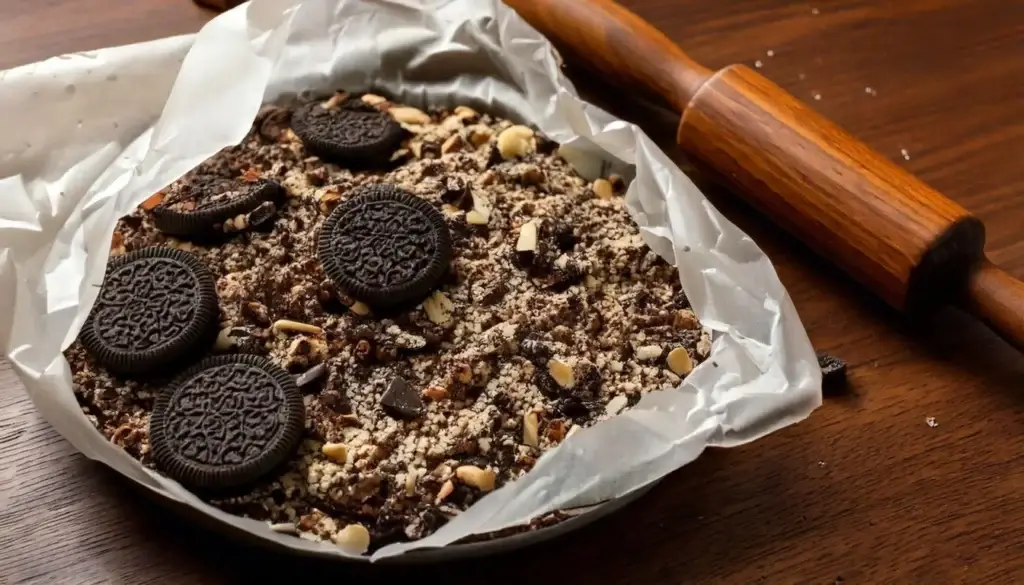
2. Mix the crushed cookies and melted butter together in a bowl until well combined. Stir until evenly mixed.
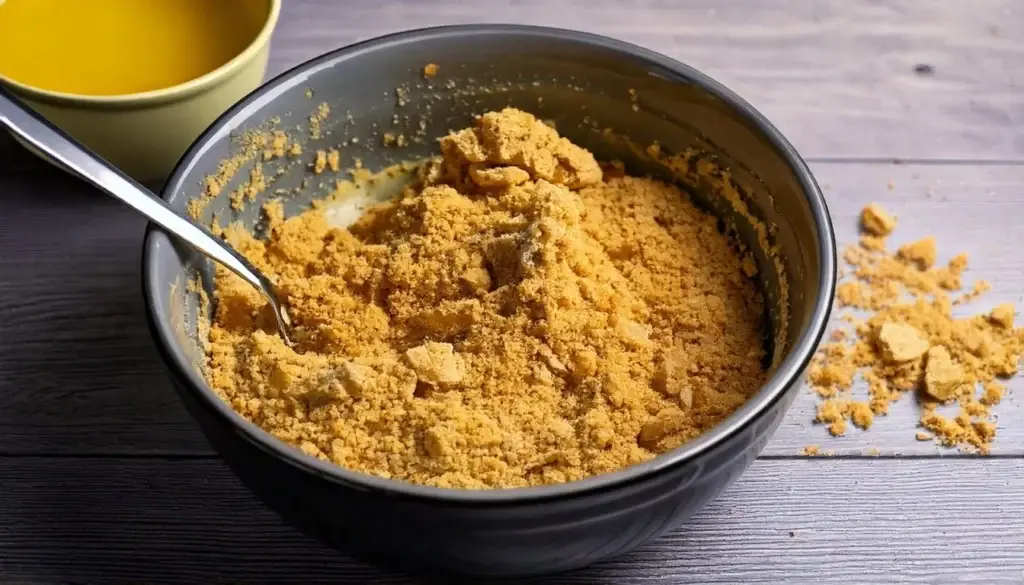
3. Firmly press the mixture into the base of a 9×13-inch baking dish to form a smooth, even layer.
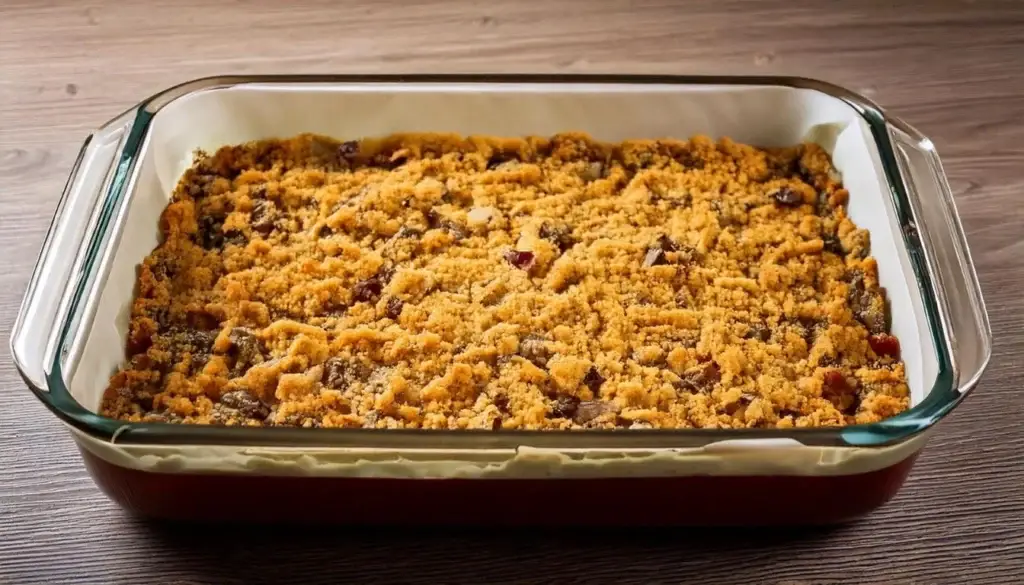
4. Chill the crust in the refrigerator for 10-15 minutes to allow it to firm up.
Pro Tip: For an extra touch, save some crushed Oreos for garnishing later.
Step 2: Make the Creamy Filling
The rich, velvety filling is the centerpiece of this dessert’s appeal. Follow these steps:
- Combine the cream cheese and powdered sugar in a large bowl, mixing thoroughly until the mixture is smooth and velvety.
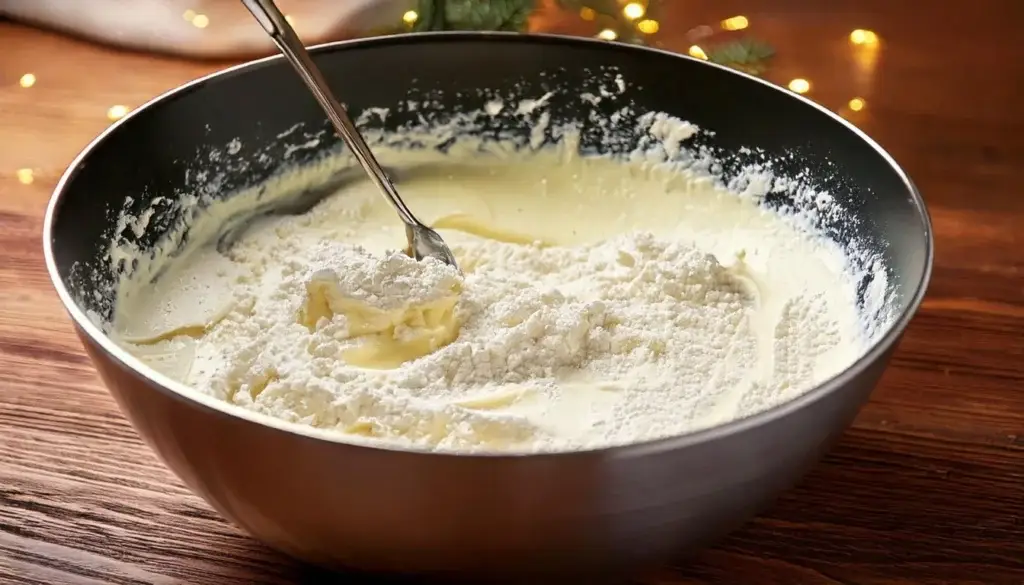
2. Gently fold in 1 cup of whipped topping, being careful not to deflate it.
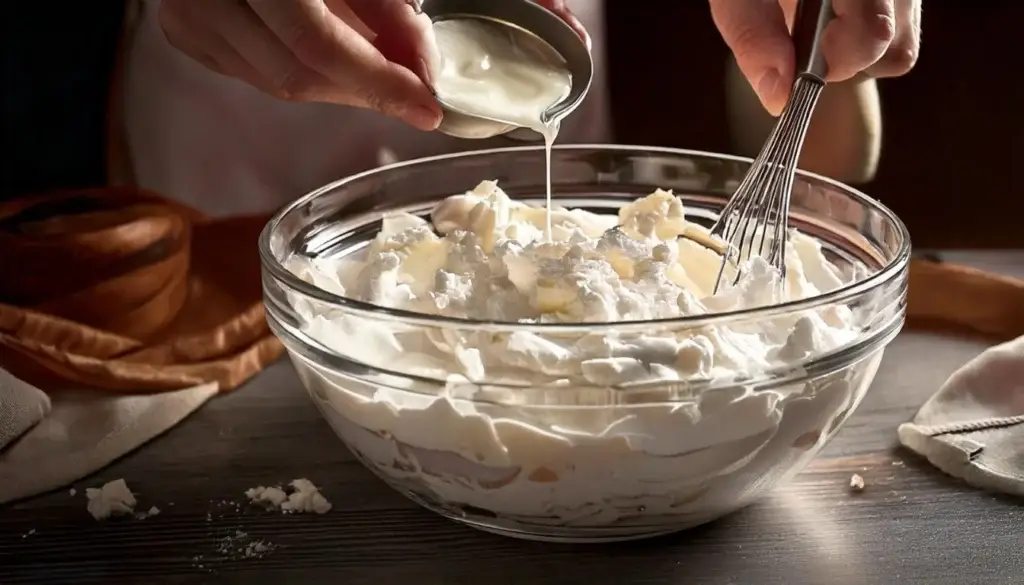
3. Spread the cream cheese mixture evenly over the chilled Oreo crust.
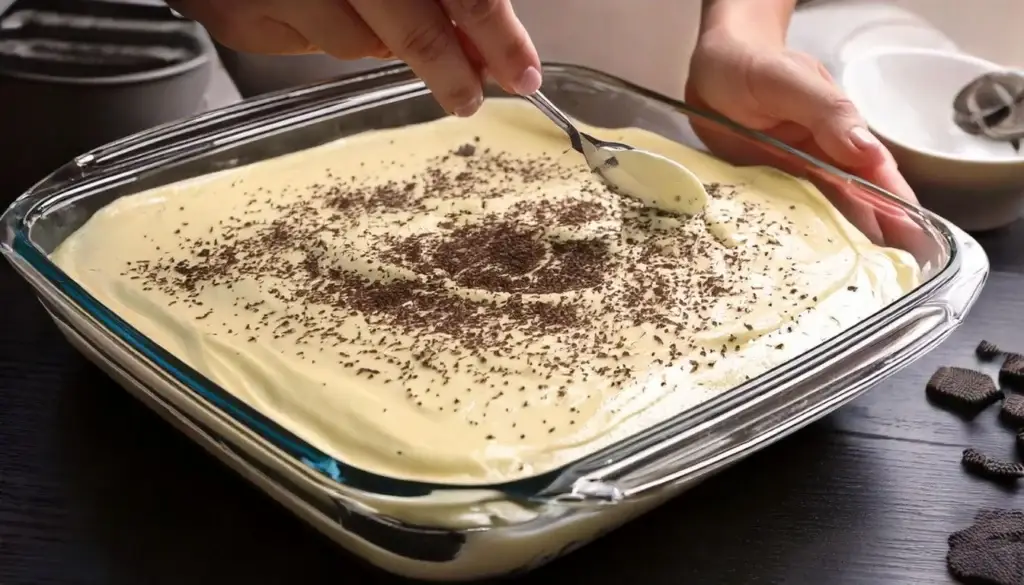
Tip: Use a spatula to create a smooth, even layer for the best presentation.
Step 3: Create the Chocolate Layer
Now it’s time to add a rich chocolate touch:
- In a separate bowl, combine the chocolate pudding mix and milk, whisking until the mixture thickens. This usually takes about 2-3 minutes.
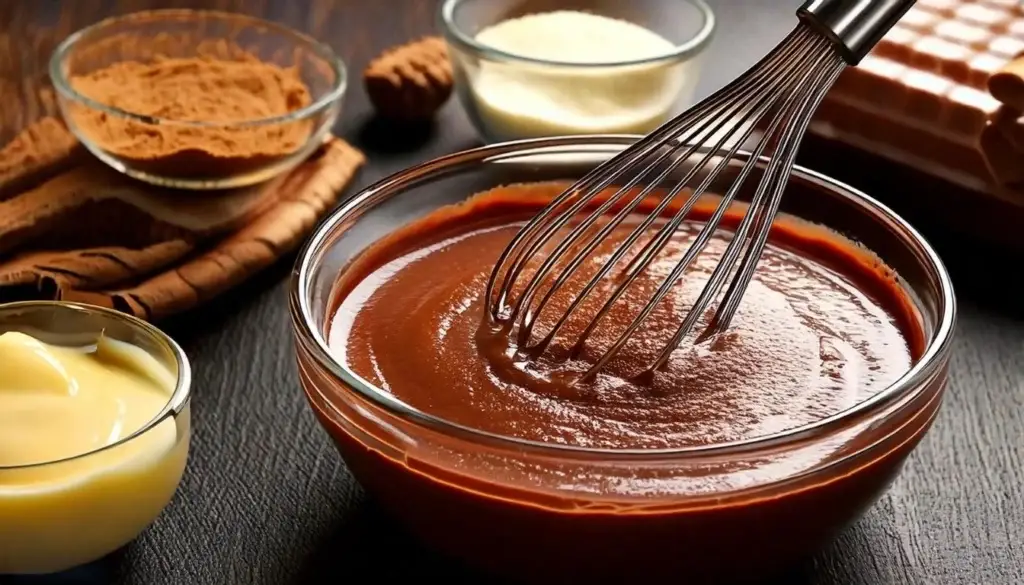
2. Carefully pour the pudding over the cream cheese layer, using a spatula to spread it evenly.
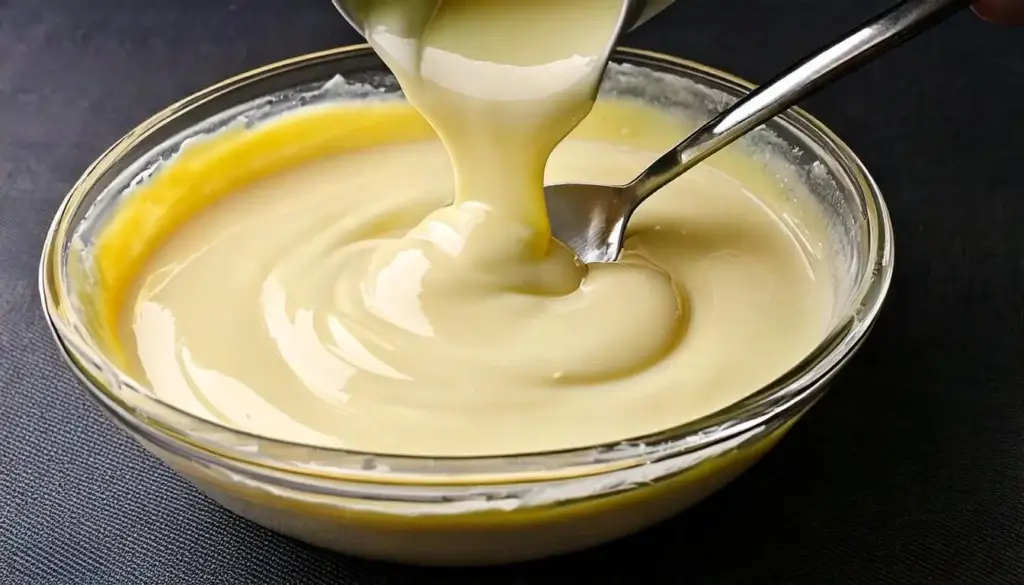
Note: Make sure the pudding is thickened before adding it to ensure clean, distinct layers.
Step 4: Add the Whipped Topping and Garnish
- Spread the remaining whipped topping over the pudding layer, ensuring it covers the entire surface.
- Top it off with the reserved crushed Oreos to add a decorative touch and enhance the flavor.
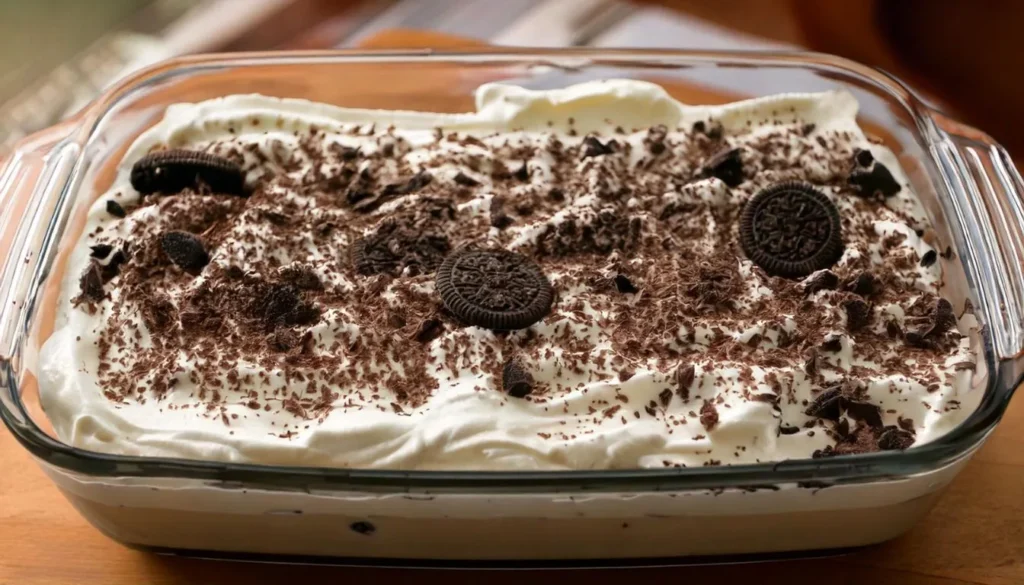
Optional: Add a drizzle of chocolate syrup or a sprinkle of mini chocolate chips for an extra indulgent touch.
Step 5: Chill and Serve
Patience is key for this step:
- Refrigerate the dessert for at least 2-4 hours, or preferably overnight. This gives the layers time to firm up and lets the flavors blend harmoniously.
- Slice into squares and serve chilled. See the joy on your guests’ faces as they savor every bite!
Tips for Making the Best No-Bake Oreo Dessert
- Use Quality Ingredients: Fresh cream cheese and high-quality chocolate pudding make a noticeable difference.
- Don’t Rush the Chilling Time: Giving the dessert time to set ensures beautiful layers and an easy-to-serve texture.
- Experiment with Flavors: Try using flavored Oreo cookies, like mint or peanut butter, to switch things up.
- Portion Control: For smaller gatherings, halve the recipe and use an 8×8-inch dish.
Frequently Asked Questions (FAQ)
How long can I store the no-bake Oreo dessert?
You can store this dessert in an airtight container in the refrigerator for up to 3 days. It’s best served fresh, but it holds up well for leftovers.
Can I make this dessert ahead of time?
Absolutely! This treat is ideal for making ahead of time, even the day before serving. In fact, the flavors improve as they sit, making it even more delicious.
Can I use different flavored Oreo cookies?
Yes, feel free to experiment! Golden Oreos, mint Oreos, or even double-stuffed varieties can add a unique twist to your dessert.
What if I don’t have whipped topping?
Homemade whipped cream can be made by whisking heavy cream with a touch of sugar until soft peaks appear. Use it as a 1:1 replacement.
Conclusion
Creating a no-bake Oreo dessert is about more than just following a recipe—it’s about crafting a memorable experience for yourself and your guests. With its simple preparation and indulgent layers, this dessert is sure to become a staple in your kitchen. Whether you’re hosting a party, celebrating a special occasion, or simply satisfying a sweet craving, this recipe has everything you need to impress without stress. So, grab your ingredients, follow these steps, and enjoy the smiles this dessert will bring to the table!

